Skip to content
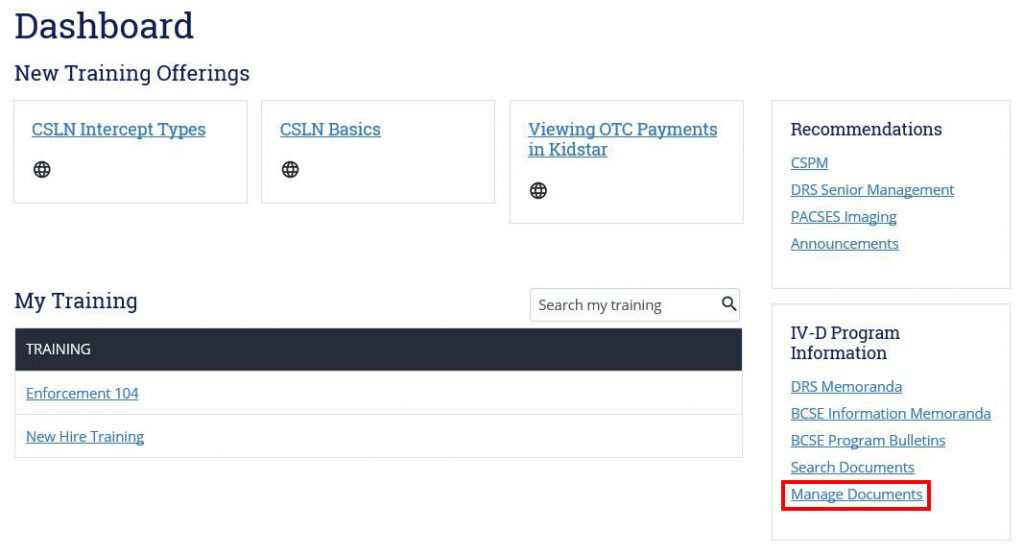
- On the Dashboard, in the IV-D Program Information section, click Manage Documents.
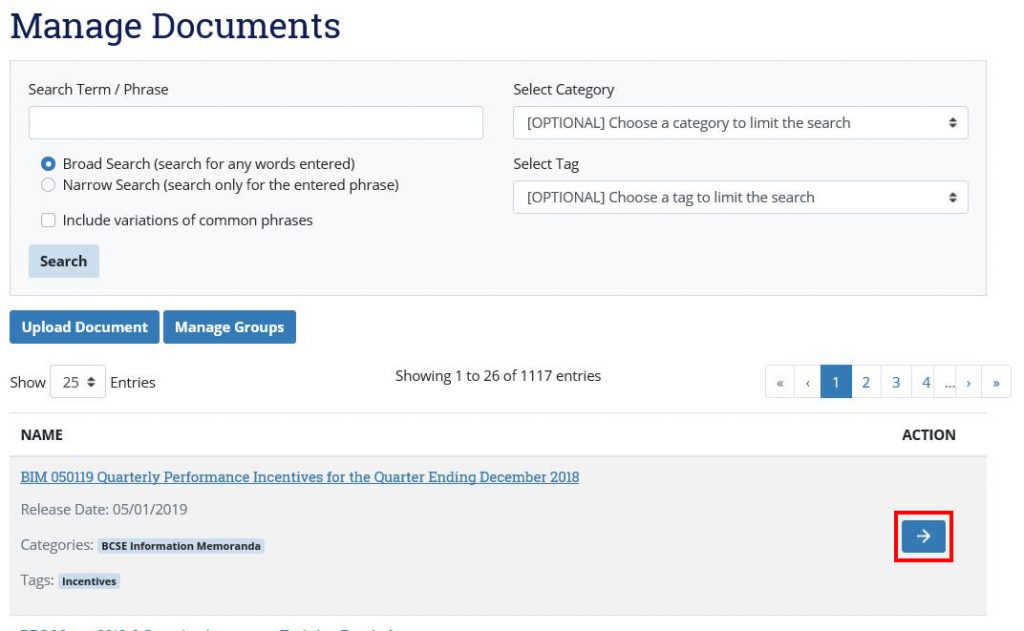
- If desired, filter the list of results using the Search Term/Phrase text box, the Select Category drop-down menu, and/or the Select Tag drop-down menu, and click Search.
Update a Document
- Click the arrow button in the Action column.
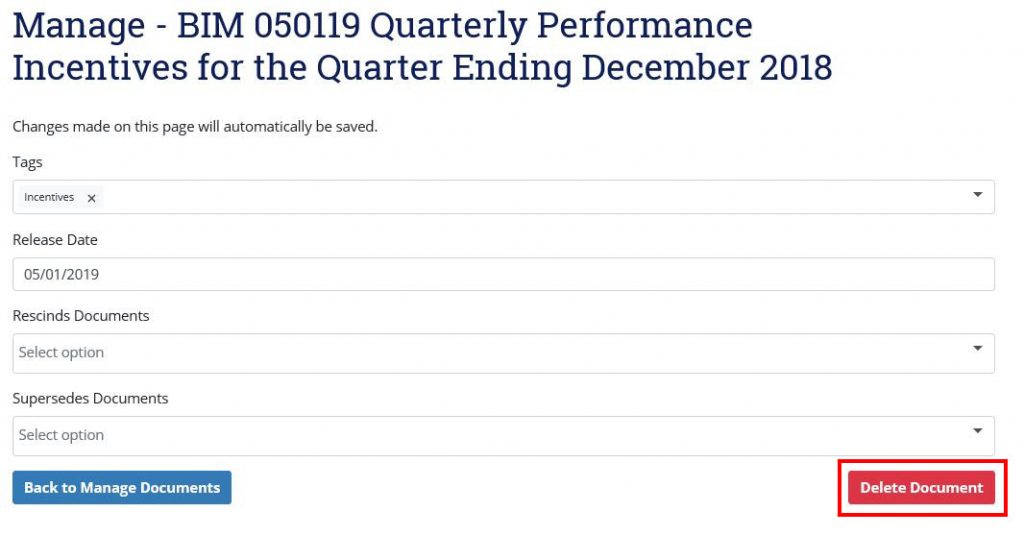
- In the Tags drop-down menu, add or remove tags.
- In the Release Date text box, update the document release date.
- In the Rescinds Documents drop-down menu, choose a document that the current document rescinds. Note: You may type in the Rescinds Documents drop-down menu to search for documents.
- In the Supersedes Documents drop-down menu, choose a document that the current document supersedes. Note: You may type in the Supersedes Documents drop-down menu to search for documents.
- Click Back to Manage Documents to save your changes.
Delete a Document
- Click the arrow button in the Action column.
- Click Delete Document.
- In the Delete Document popup window, click Delete Document.
Upload a Document
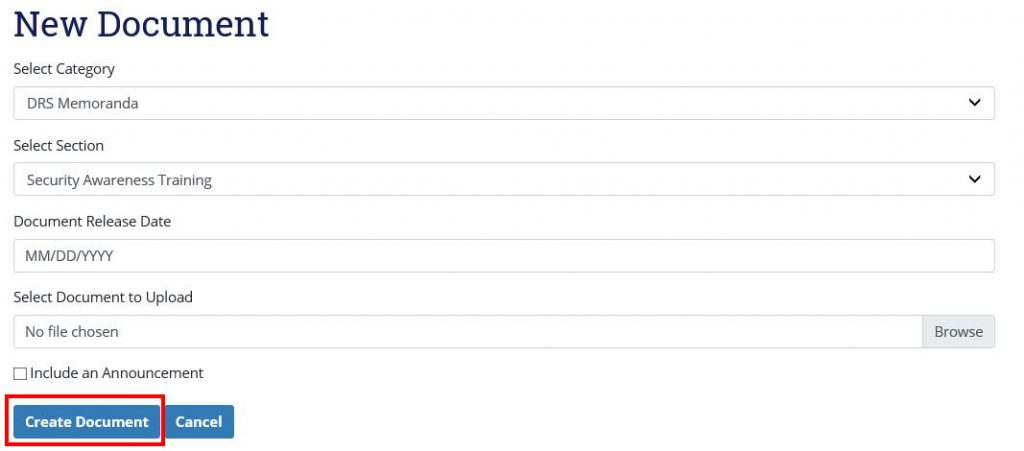
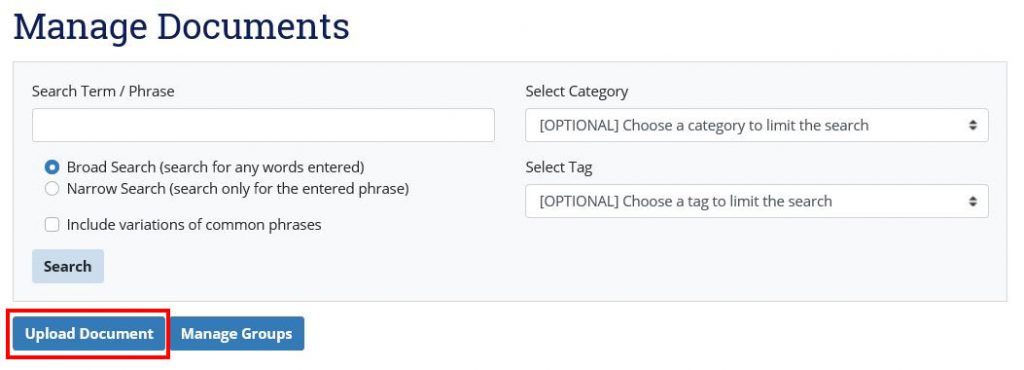
- Click Upload Document.
- In the Select Category drop-down menu, select the appropriate category.
- In the Select Section drop-down menu, select the document year or section.
- In the Document Release Date, select or type the release date.
- Click in the Select Document to Upload text box, select the document file and click Open.
- Click the Include an Announcement check box if you wish to create an announcement for the new document.
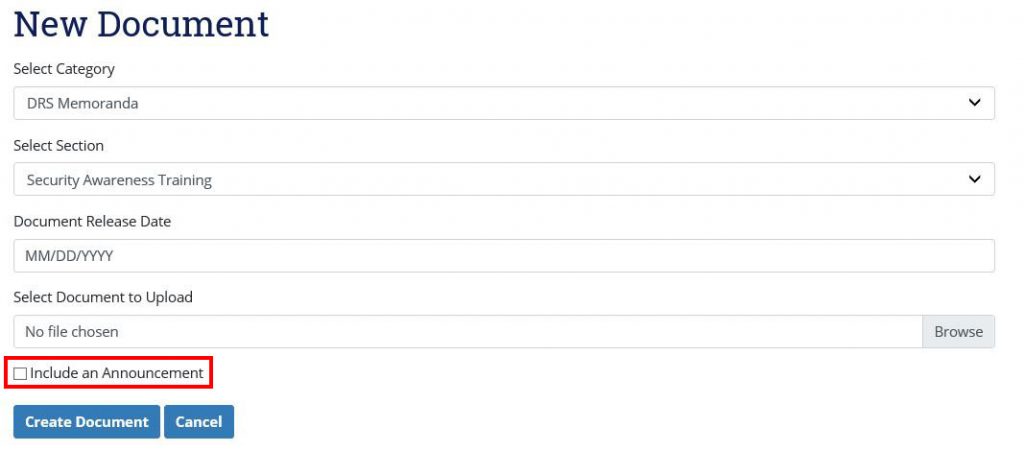
- Click Create Document.